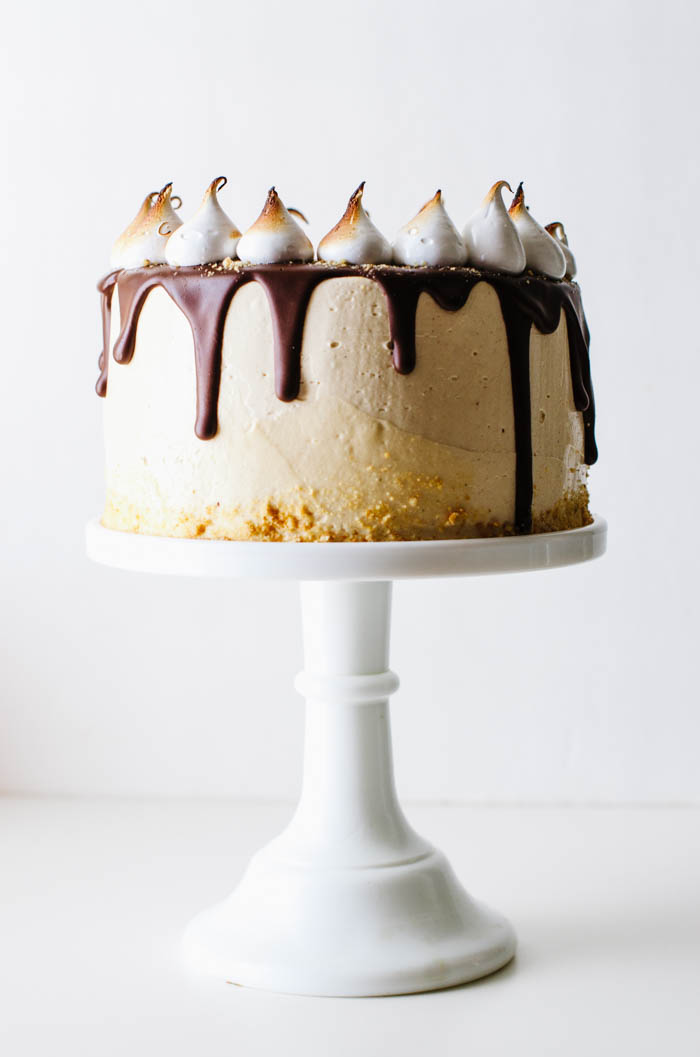
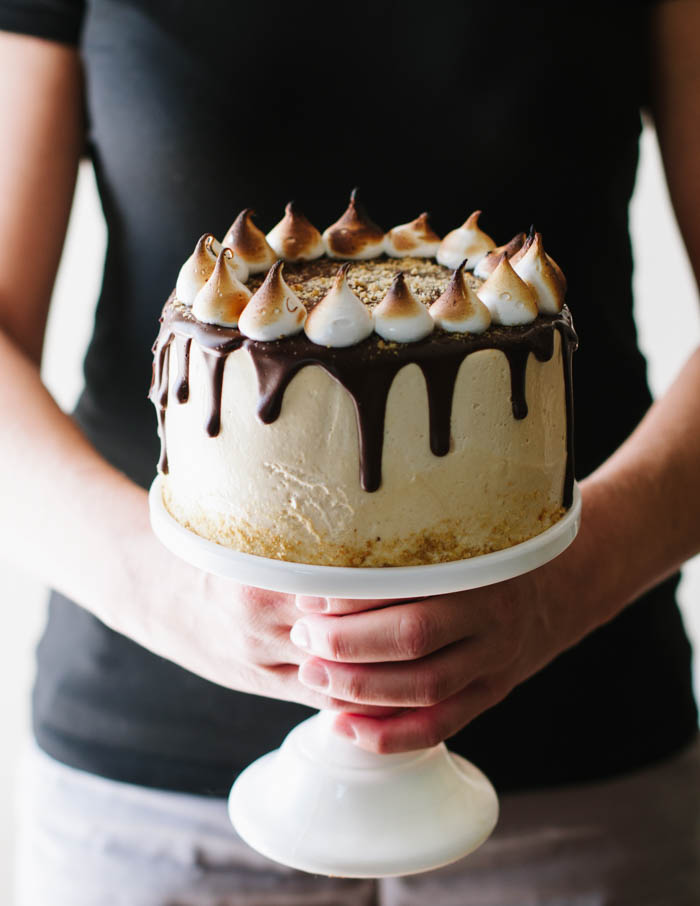
What do you do when your friend travels thousand of miles to see you the week after her birthday? If you said, “Make her a Peanut Butter S’mores Cake,” you would be correct. If you said, “Make her earn the cake by hand modeling”, you would be correct and also smart.
My friend Cat was here for her birthday last year as well, so this is the second cake in a row that she’s gotten a cake from me. The only difference is that last year, I let her pick the flavor. Cat is obsessed with Taro Milk Boba Tea, and so we attempted to make cupcakes that somewhat resembled the drink. However, we couldn’t find taro powder, so we ended up using taro root. She also wanted the boba baked into the cupcakes. Unfortunately, we ended up with a dense chewy cake that tasted like potatoes and rock hard boba in the center. Needless to say, these cupcakes never made it to the blog.
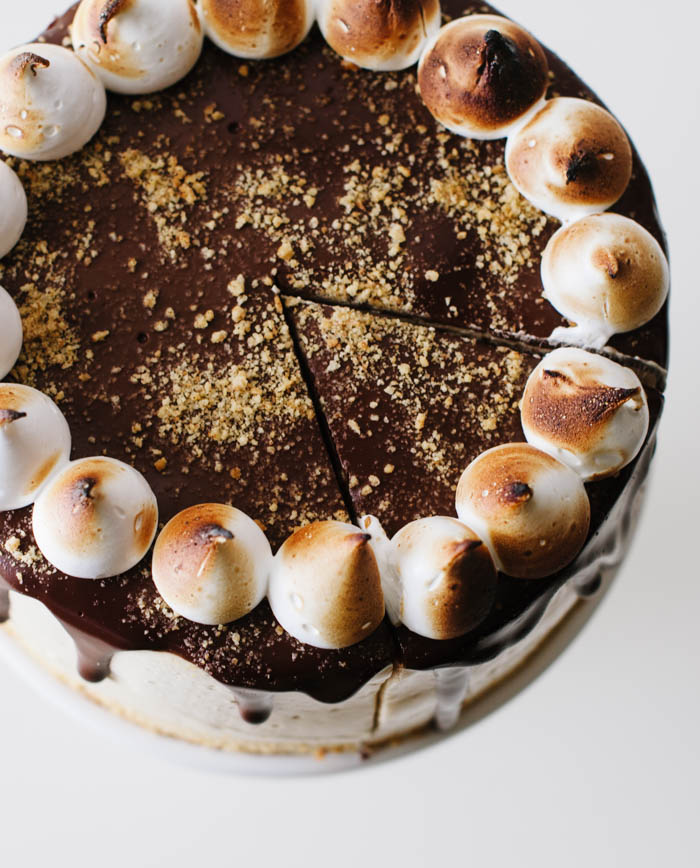
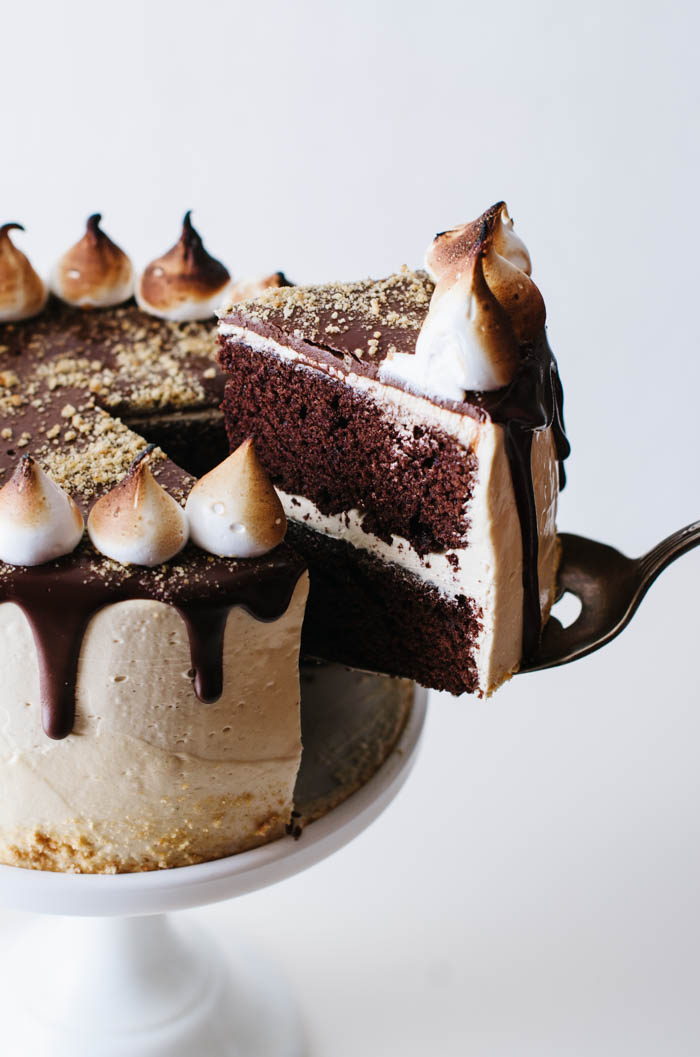
Let’s talk about this year’s cake instead, shall we? It was a rousing success. Chocolate buttermilk cake topped with peanut butter swiss meringue buttercream (aka heaven), a chocolate ganache drizzle, graham crackers, and toasted marshmallow meringue. There’s pretty much nothing that could go wrong this year. It’s also a 6-inch cake which is just perfect for a small group, although Cat has a superhuman sugar tolerance and ate about 2/3 of it by herself.
Even though I loved this cake, if I had to make it over again, I would double the amount of marshmallow topping so that it would cover the entire top of the cake. More toasted marshmallow = more better. Also, the peanut butter swiss buttercream makes a crap ton (this is a real measurement), but I like to have extra frosting to get a really smooth finish. Swiss buttercream is also kind of a pain to make in small batches but luckily it freezes beautifully.
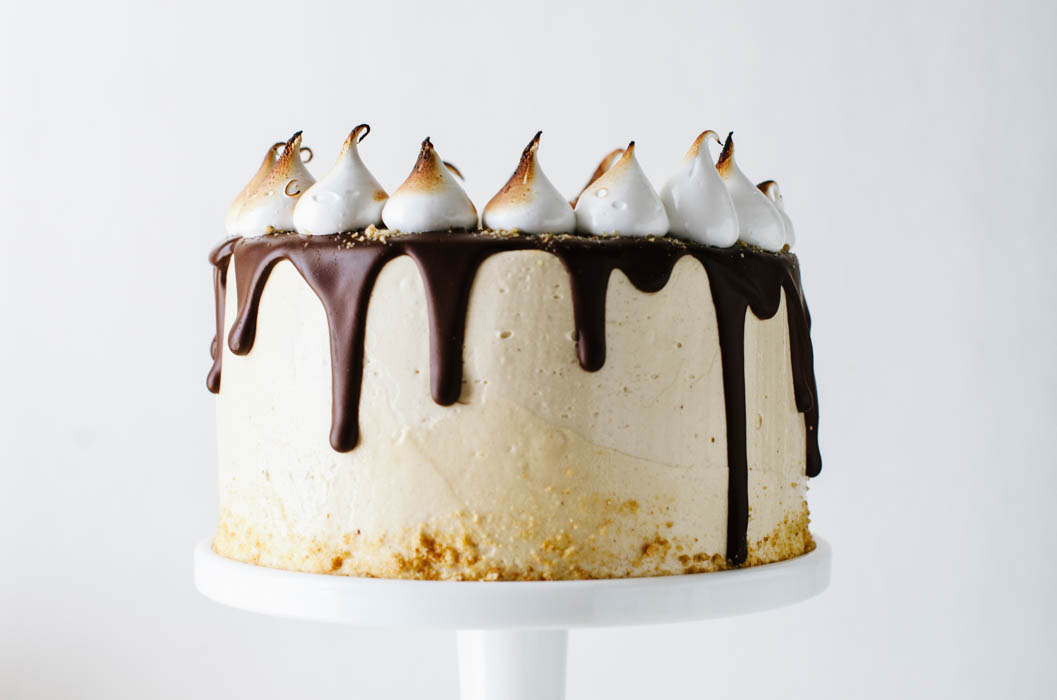
The marshmallow topping will hold up at room temperature for 2-3 days. After that, it starts to droop. I would not recommend refrigerating this cake because the marshmallow topping will deflate.
Ingredients
- 1 cup plus 2 tablespoons (140 grams) all-purpose flour
- 1 cup (200 grams) granulated sugar
- 1/4 cup (30 grams) plus 1 tablespoon unsweetened Dutch-process cocoa powder
- 1/2 teaspoon baking powder
- 1/4 teaspoon baking soda
- 1/4 teaspoon regular salt
- 1/3 cup (80 ml) plus 1 tablespoon buttermilk
- 1 stick (1/2 cup, 113 grams) unsalted butter, melted
- 1 large egg
- 1 large egg yolk
- 1 teaspoon pure vanilla extract
- 1/3 cup (80 ml) boiling water
- 3 large egg whites (85 grams)
- 1 cup (200 grams) granulated sugar
- 1 cup plus 4 tablespoons (283 grams) unsalted butter, softened
- 1 teaspoon vanilla extract
- 3/4 cup (170 grams) peanut butter
- 1 1/2 ounces (42 grams) bittersweet chocolate, chopped
- 1/4 cup (60 ml) heavy cream
- 1 tablespoon light corn syrup
- 1 egg white (28 grams)
- 1/4 cup (50 g) granulated sugar
- 1 teaspoon light corn syrup
- 1/8 teaspoon cream of tartar
- 1 teaspoon pure vanilla extract
- some crushed graham cracker crumbs for topping
Instructions
- Preheat the oven to 350 degrees fahrenheit and grease and line 2 6-inch baking pans.
- In a large bowl (or the bowl of a stand mixer) mix together the flour, sugar, cocoa powder, baking powder, baking soda, and salt on low speed.
- In a separate bowl, mix together the buttermilk, melted butter, egg, egg yolk, and vanilla extract until blended.
- Add the buttermilk mixture to the flour mixture in 2 additions and beat on low speed until blended. Turn the mixer up to medium high and beat until smooth.
- With the mixer on low speed, slowly pour in the boiling water and beat until blended. The batter will be thin.
- Divide the batter equally between the cake pans and bake until a toothpick inserted into the center comes out clean, about 23-26 minutes.
- Cool the cakes in the pans on wire racks for 15 minutes.
- Turn the cakes out onto wire racks to cool completely.
- Wipe down the bowl of a stand mixer with vinegar.
- Add the egg whites and sugar to the bowl and place over a pan of barely simmering water. The bowl should not touch the water.
- Remove the bowl from the heat, and whip the egg whites on medium high using the whisk attachment of your stand mixer.
- Whip the egg whites until they become fluffy and double in volume. The bowl should be cool to the touch (this will usually take several minutes).
- Turn the mixer down to medium low, and add the butter in one chunk at a time, until it has all been incorporated.
- If the mixture looks curdled at this point, this is normal. Just keep whipping for a few more minutes until it comes together. If the mixture looks soupy, you can add a few cubes of chilled butter, or stick the whole bowl in the refrigerator for about 15 minutes and then continue beating.
- Once the buttercream has become smooth, and the vanilla extract and peanut butter and beat until incorporated.
- Add the chopped chocolate to a heat proof bowl.
- Heat the heavy cream in a small saucepan until it barely comes to a simmer.
- Pour 3 tablespoons over the chocolate and let stand for a few minutes so that the chocolate can melt.
- Add the corn syrup and whisk until smooth.
- If the mixture is too thick, add the remaining cream and whisk until you reach the right consistency.
- Wipe down the bowl of a stand mixer with vinegar.
- Put the egg white, sugar, corn syrup, and cream of tartar in the bowl and place it over a pan of simmering water. (The water should not touch the bowl).
- Whisk the mixture over the heat constantly until it reaches 130 degrees fahrenheit.
- Transfer the bowl to the mixer and beat with the whisk attachment until thick and glossy and the mixture comes back to room temperature. It should hold stiff peaks.
- Add the vanilla and beat to combine.
- Place one layer of the cake on a 6-inch cake board.
- With an offset spatula, spread about 1 cup of the PB swiss buttercream filling on top of the first layer.
- Place the 2nd layer on top.
- Place the cake on a turntable, and apply a thin layer of the frosting on the sides and the top of the cake to lock in the crumbs.
- Let the frosting set up in the refrigerator for about 15-20 minutes.
- Apply the remainder of the frosting to the sides and top of the cake.
- You can refrigerate the cake while preparing the chocolate drizzle and marshmallow topping.
- Gently pour the chocolate glaze over the top of the cake until it drips down over the sides.
- Sprinkle some graham cracker crumbs on top and gently press some onto the sides of the cake as well.
- Put the marshmallow topping in a piping bag fitted with a round tip and pipe it over the top of the cake.
- Using a kitchen torch, torch the topping until lightly browned.
Cake recipe adapted from the Brown Betty Cookbook.
Swiss buttercream and Chocolate Glaze adapted from Style Sweet CA.
Marshmallow Topping adapted from Sweetapolita.
Ahhh, GASP, SHREAK, SWOOOOON! This cake looks to-die-for!
OMGGGGG NATASHA!!!!!! I haven’t been to your blog in far too long, but I absolutely LOVE the makeover!!!!!! It’s SO GORGEOUS and showcases all your gorgeous creations so well!!!!!!! This in particular, ugh. DREAM CAKE MUCH?! I just want to swan dive into those delightful plumes of bronzed marshmallow omg.
Can I ask–did you just purchase this theme and install it yourself? It just looks SO GOOD!!!!!!!
Thanks so much, Erika! I got the blog design off etsy. I’m messaging you details.
This looks amazing!
In step 10 you say to add the egg white and sugar in a bowl over heat, how long do you leave this to heat before taking off to whisk?
Diorディオールブランドコピー代引き
China Agaric
LouisVuittonルイヴィトンベルト販売店
A536 Ductile Iron
Celineセリーヌバッグ販売店
Floor Lamp
ブランドコピー代引き
Clear Pantry Containers
ブランドHermesエルメス財布コピーN級品
Easy Assembly Interlocking Tiles
Minimalist Tea Packaging
Disposable Loose Tea Bags
Steel Deck Roll Forming Machine
Triangle Shaped Tea Bags
Fssai For Tea Packaging
グランドラグジュアリー
http://www.quawas.jo
Floor Decking Machine
Floor Deck Forming Machine
Loose Leaf Tea Packaging
Deck Roll Forming Machine
Metal Deck Roll Forming Machine
The Air Jordan 13, which was born in 1997, is the second pair of Air Jordan shoes officially launched in mainland China after the Air Jordan 12.