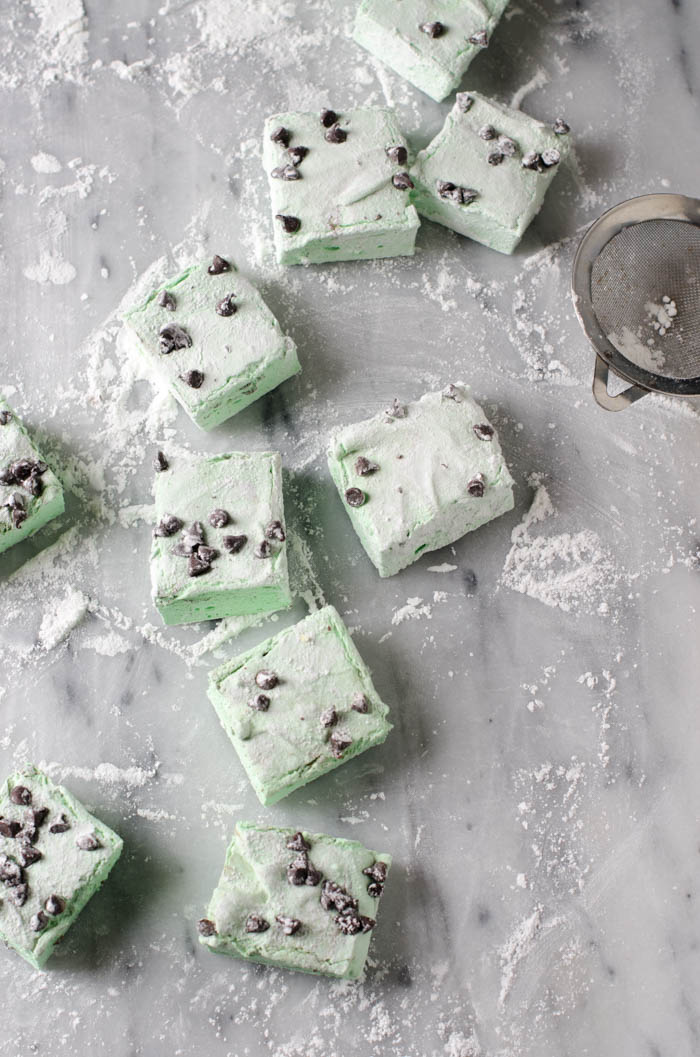
Merry Christmas Eve! I should be wrapping last minute gifts, packing for my trip to Indiana, and preparing for my concert tonight (because Christmas Eve is a working day for a musician), but instead I’m posting one last recipe because I just had to share these with you. If you would have asked me a few years ago or even a few weeks ago if homemade marshmallows were worth the effort, I would have said, “meh” or some other grunt-like syllable. But I was so wrong, because after making my first batch I just couldn’t stop. They are so darn fluffaaay!
Even though I’m no expert at candy making and boiling sugar syrup usually scares me, marshmallows are surprisingly easy and fun to make. I tried a couple of different recipes, and after I found my one I liked, I used it as a base to go crazy with flavor combinations- vanilla, coffee, gingerbread, and my favorite- mint chocolate chip!
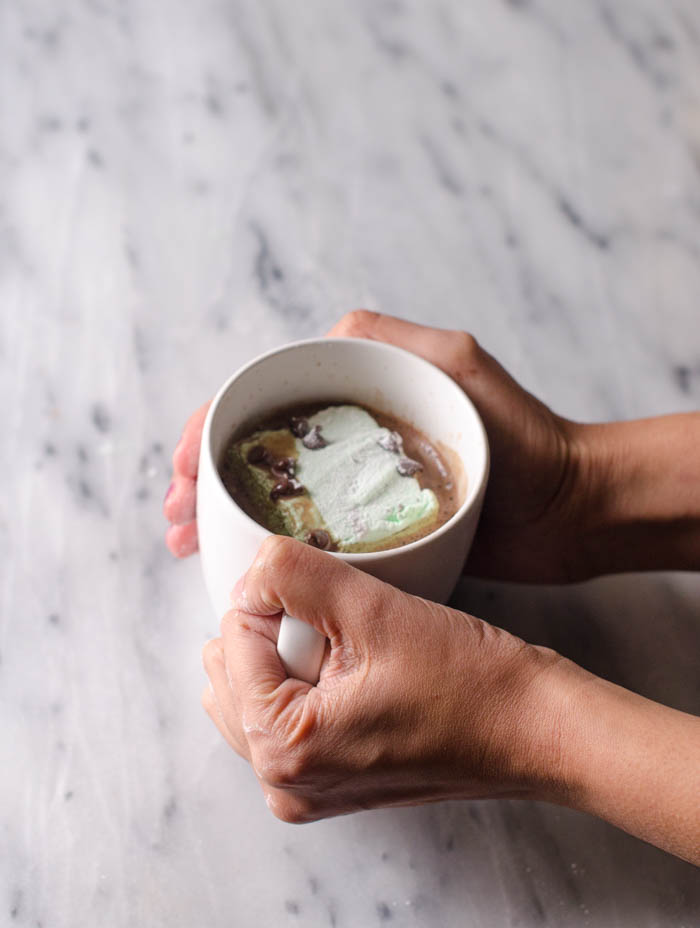
I packaged them up and shipped them to my friends with my favorite hot cocoa mix recipe, but yesterday I made a big batch for the blog and also for myself since I wanted to have marshmallows on hand for all the hot chocolate drinking I plan to do after Christmas. It hasn’t been all that cold here in Dallas, so I’m going to bring them to Indiana with me where I will drink mugs of hot chocolate while sitting by the fire and watching the snow.
Even though marshmallows are fairly simple to make, you will need a candy thermometer to do it. I use this one, since it’s cheap and it works well. A stand mixer is also really helpful. It’s possible to make them without one, but you’ll probably need another person to help you since the mixing process takes a while.
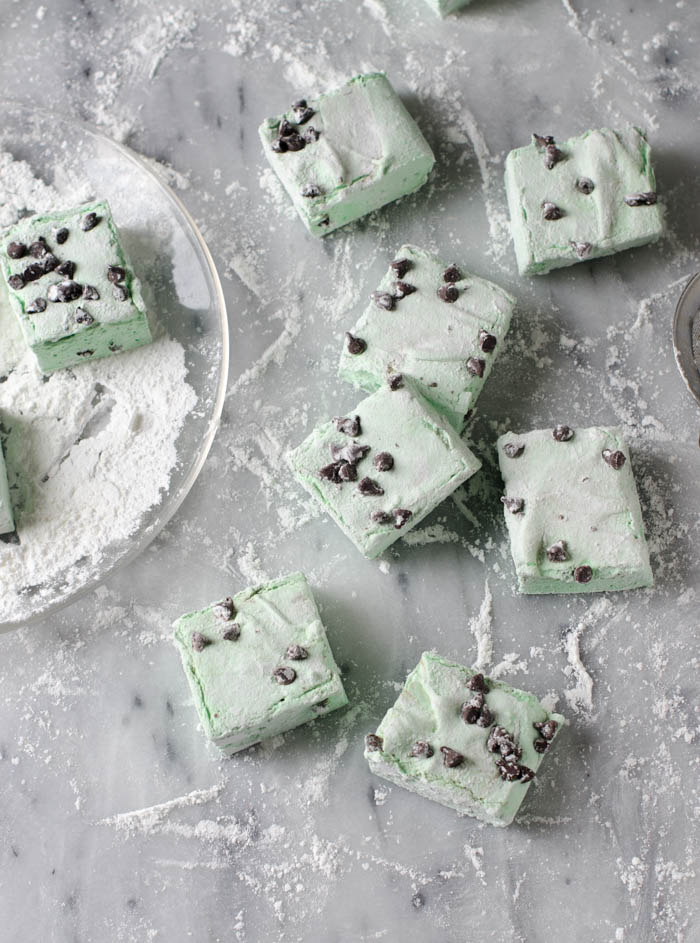
My first batch of these tasted great, but the chocolate chips melted when I put them into the marshmallow mixture so I ended up with a swirl effect. It wasn’t bad, but not what I had in mind. The secret to getting the chocolate chips to stay in tact is to freeze them first, and then add them in the last few seconds of mixing.
Here are a few other helpful hints for marshmallow making.
-Measure out all of your ingredients before you start since you’ll have to work quickly in certain stages.
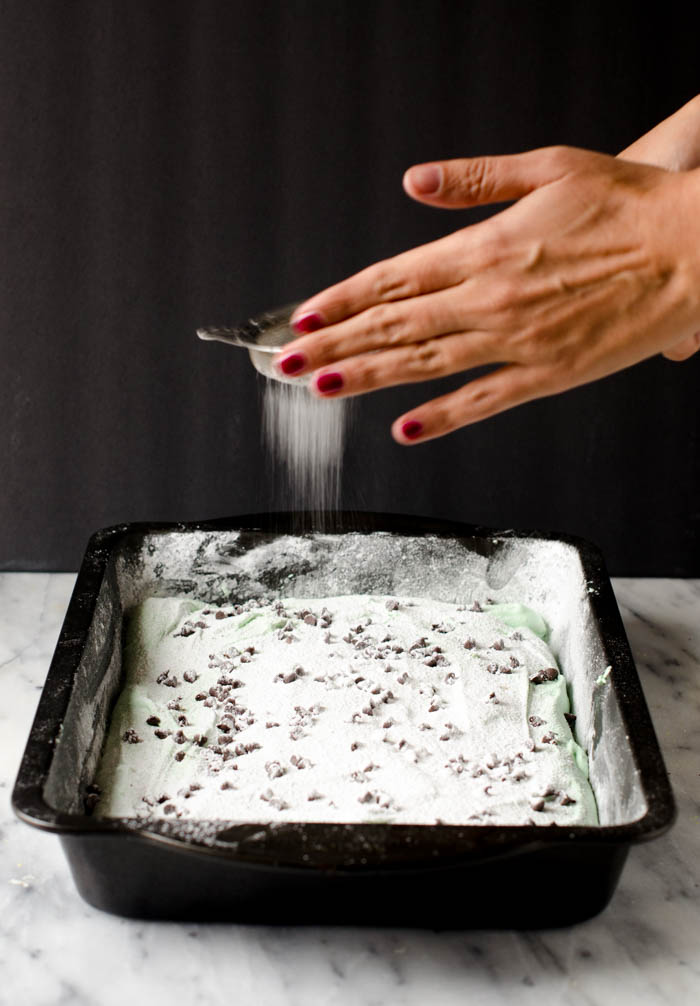
-Grease your pan well and dust it with powdered sugar, but don’t bother to line it. I’ve found that foil or parchment gets in the way when you are trying to spread the marshmallow mixture.
-Don’t try to get every last bit out of the bowl. If you do, your marshmallow mixture will start to set and you won’t be able to spread it.
-Have two greased spatulas on hand- one of getting the marshmallow mixture out of the bowl and another one for spreading the mixture out in the pan. Once the marshmallow mixture starts to stick to the spatula, it’s hard to use that same spatula for spreading (you’ll see what I mean when you make them).
Happy Marshmallowing!
Ingredients
- 3/4 cup mini chocolate chips, divided
- nonstick cooking spray
- 1/4 cup (30 grams) powdered sugar
- 1/4 cup (30 grams) cornstarch
- 3 1-ounce packages (85 grams) gelatin
- 1 cup cold water, divided
- 1 1/2 cups (340 grams) granulated sugar
- 1 cup (240 ml) light corn syrup
- 1/4 teaspoon salt
- 1/2 teaspoon peppermint extract
- a few drops of green gel food coloring (I used Americolor Leaf Green)
Instructions
- Put the mini chocolate chips in the freezer.
- Spray a 9x13 pan with cooking spray.
- Mix the powdered sugar and cornstarch, and dust the pan generously.
- In the bowl of a stand mixer fitted with the whisk attachment, combine the gelatin with 1/2 cup of the water. It will need to soften while you make the sugar syrup.
- In a saucepan, combine the other 1/2 cup of the water, granulated sugar, corn syrup, and salt. Turn the heat on to medium, cover it, and let it cook for about 4 minutes.
- After the 4 minutes is up, clip the candy thermometer on the side of the saucepan and let it continue to cook until the mixture reaches 240 degrees fahrenheit (115 celsius) or soft ball stage.
- Once the mixture reaches this temperature, remove it from the heat and bring it over to the mixer.
- Turn the stand mixer onto it's lowest setting to break up the gelatin a bit.
- Once it is going, pour the sugar syrup mixture into the bowl, aiming for the side of the bowl and not the whisk (you don't want this stuff to splatter).
- After all of the sugar syrup mixture is in, turn the mixer up to high for 12-15 minutes. You'll know it is ready when the mixture is fluffy and the bowl is lukewarm to the touch.
- While the mixer is running, spray 2 rubber spatulas with cooking spray.
- In the last minute of mixing, add the peppermint extract and a few drops of the green food coloring.
- Just before you're ready to remove the marshmallow mixture from the bowl, add 1/2 cup of the mini chocolate chips and turn the mixer on for a few seconds just to incorporate.
- Using your greased spatula, scrape the marshmallow mixture into the prepared pan. Using your other spatula, spread the marshmallow mixture out and top with the remaining 1/4 cup of chocolate chips, pressing them lightly into the mixture.
- Dust the top with some of the powdered sugar/cornstarch mixture.
- Cover with foil and let the marshmallows set for at least 4 hours or overnight.
- After the marshmallows have cooled, turn the out of the pan and dust with the remainder of the powdered sugar mixture.
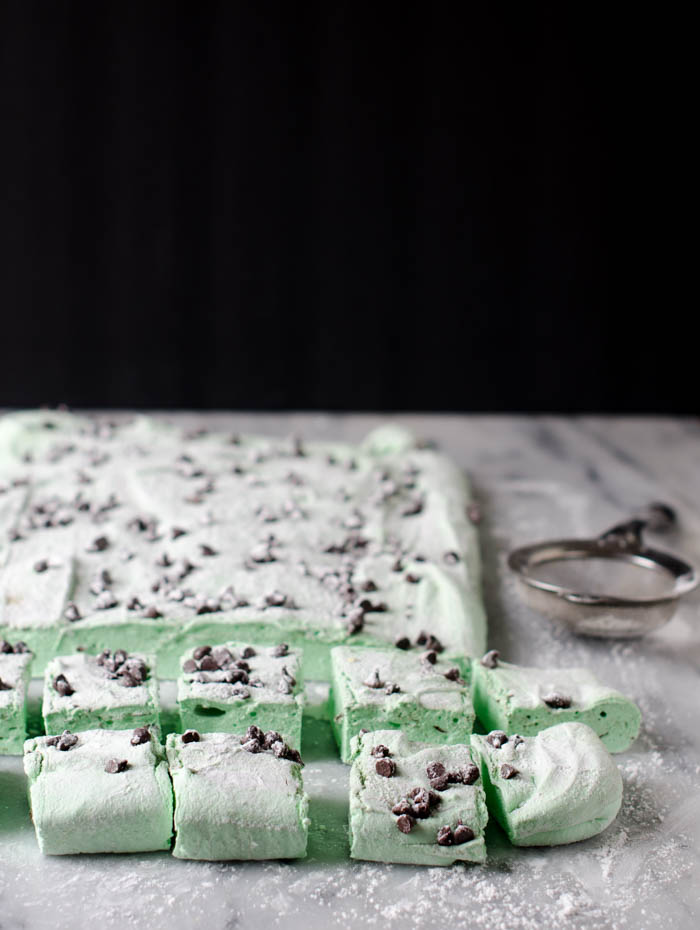
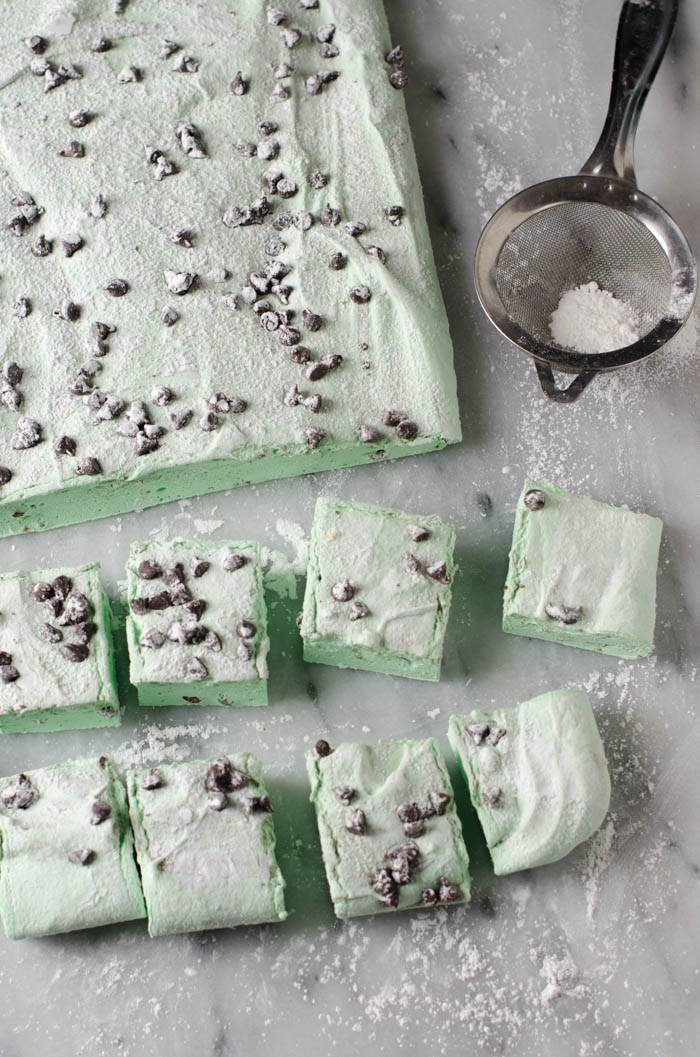
- Using a knife of pizza cutter, cut them into squares.
- Dust the sides of the marshmallows with the powdered sugar mixture and store in a airtight container for up to 2 weeks.
Recipe adapted from http://altonbrown.com/homemade-marshmallow-recipe/
I LOVE making homemade marshmallows (I agree – sooo worth the time!) but mint chocolate chip??? These are genius! Happy 2017 friend!!
bwheater.co.kr
グランドラグジュアリー
Electric Sheet Metal Shear
Directional Control Valve WMM 10
Excavator Earth Auger
Alligator Shearing Machine
Directional Control Valve WMR
Directional Control Valve WMM 6
Directional Control Valve WE 4 for Rexroth
Japanese Style Hydraulic Steel Grab
Directional Control Valve WMU
Landworks Auger Bits
Standard D-Sub Connectors
Welded Razor Wire Mesh
Aluminum Bound Screen Packs
D-Sub Connectors
Wire Mesh Screen
グランドラグジュアリー
Welded Wire Mesh
Wire Harness
High Density D-Sub Connectors
http://www.mdebby.co.il
Decorative Aluminum Metal Mesh
Combination D-Sub Connectors