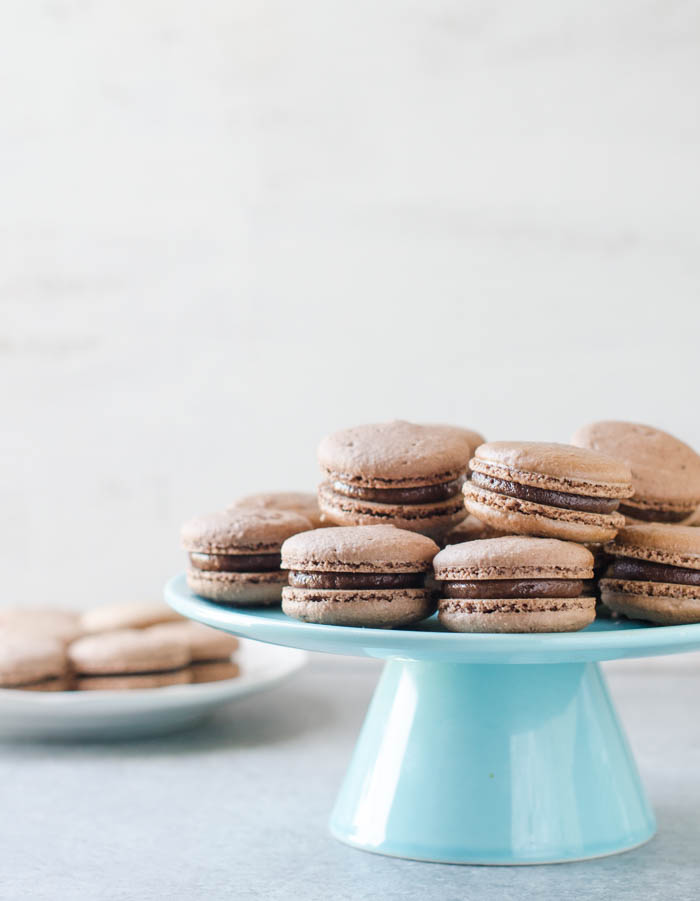
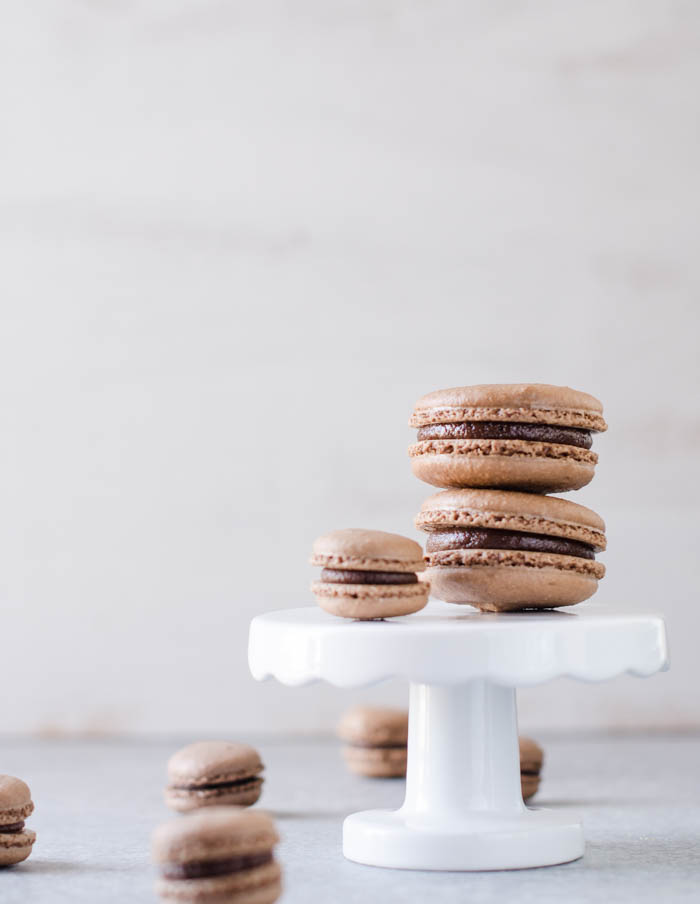
This chocolate macaron recipe is based on my previous French Macaron recipe. If you are new to making macarons, I would recommend starting by reading this post.

If you’re ever tried making chocolate macarons, you may have ended up with shells that were wrinkled or too soft . The goal for this recipe was to get as much chocolate flavor into the shells as possible without disrupting the texture of the macaron. In order to achieve this, I had to adjust my sugar ratios just a bit. Because of the addition of cocoa powder, along with my reverse mixing method, it’s very important to get a stiff meringue before doing the macaronage.

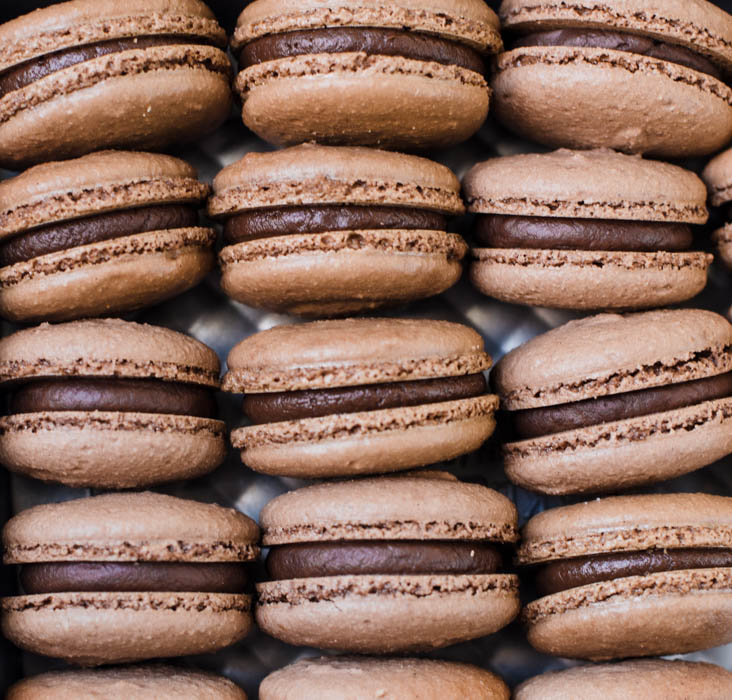
I took a quick picture of the inside of the macaron. Once I figured out the correct oven temperature, I had a much easier time not getting hollows with this recipe. I don’t know if it has to do with the cocoa powder, the amount of practice I’ve had since posting my last few macaron recipes, or both. As always, I’m interested to get your feedback.


It was actually the ganache that gave me the most trouble with this recipe. It’s important to get the correct ratio of heavy cream to chocolate, not just so it doesn’t ooze out the sides of the macaron, but so you don’t get that nasty grainy texture that so often happens (at least to me) when trying to make ganache.
I used to think that my ganache turned out grainy because I was over mixing it, but after watching this video, I realized it had to do with ratios. My go-to chocolate lately has been the Pound Plus bars at Trader Joe’s, because they’re pretty high quality for the price. I made ganache with both their 70% dark chocolate and milk chocolate bars, so my ganache recipe is based on that. Keep in mind that you may have to adjust your ratios based on the amount of cocoa butter in your chocolate.
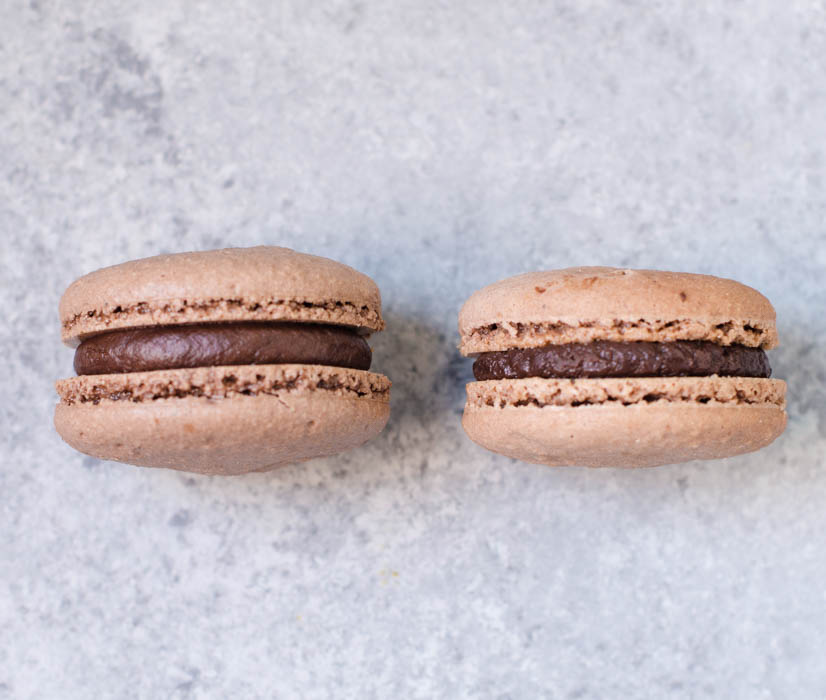
Below, you can see the ganache on the left is smooth. The ganache on the right didn’t have enough cream and turned out grainy. Both tasted delicious, though.

I also recommend freezing your macaron shells before piping the filling. It helps the ganache set up faster and ends up being a lot less messy.
INGREDIENTS
- 60 grams (about 2 large) egg whites
- 75 grams almond flour
- 85 grams confectioner’s sugar
- 10 grams cocoa powder (Dutch process or natural)
- 55 grams granulated sugar
- Gel food coloring or flavor extracts (optional)
INSTRUCTIONS
- Line a half sheet pan with a silicone mat or parchment paper.
- Fit a piping bag with an round piping tip (I used Ateco 804).
- In the bowl of a stand mixer fitted with the whisk attachment, add 60 grams of egg whites (if you think your bowl may have any grease residue, wipe down the bowl and whisk with vinegar before you begin so the oil doesn’t prevent the meringue from whipping up).
- In a separate bowl, sift together the almond flour, cocoa powder, and confectioner’s sugar.
- Turn your mixer on to 4 and whip the egg whites until they start to form soft peaks (3-4 minutes).
- Add the sugar 1/3 at a time while continuing to whip the egg whites.
- Turn the mixer up to 6 and continue to whisk until stiff peaks are formed.
- Using a spatula, take 1/3 of the meringue and place it in the bowl of dry ingredients and gently mix them together until they are combined.
- If there are still bits of dry ingredients remaining, add it a bit more meringue until the mixture is homogenous.
- Add another third of the meringue and fold it into the mixture, I do this by cutting down the middle of the bowl with my spatula and then continuing in a clockwise motion along the outside of the bowl.
- Continue doing this and turn the bowl each time until the meringue has been incorporated.
- Add the last third of the meringue to the bowl and do the same thing, being gentle so the batter doesn’t get too runny.
- When the mixture starts to look glossy, test the batter by lifting the spatula up over the bowl. The batter should come off the spatula in slow ribbons and incorporate back into the batter in about 20 seconds. If it comes off in clumps and doesn’t incorporate back into the batter, you will need to keep mixing. You can evaluate the batter consistency one stroke at a time. Keep in mind that the batter will continue to thin as you pipe it.
- Once the batter is at the right consistency, transfer it your piping bag. You can make this process easier by folding the bag over a tall glass and then scooping the batter in.
- Pipe the batter onto silicone mats (I use a silpat with a macaron stencil built in). When piping, hold the piping tip at a 90 degree angle about 1/4 of an inch above the mat and squeeze gently until the batter almost fills the circle (it will spread out a bit as it settles). Pull the piping tip off without pulling up, or you will get a tail on your macarons.
- Bang the tray against the kitchen counter or the floor several times to knock out any air bubbles. If you still have visible air bubbles, you can pop them with a toothpick.
- Leave them to dry (preferably in front of a fan) until they for a skin. The batter should not come off on your finger tips when you touch them. This will take about 15-20 minutes, but I have left them to dry for up to an hour on humid days.
- While your macarons are drying, preheat your oven to 325 degrees fahrenheit.
- Bake the macarons on the middle rack for 12-14 minutes. You can test to see if they are done by wiggling the top of the shell. If it doesn’t move, it’s done baking.
- You can let the shells cool at room temperature or stick the whole sheet in the freezer to cool. Don’t peel the macarons off the mat until they are completely cool.
- Pair macaron shells of similar sizes and fill with ganache (recipe below).
- Let the macarons mature in the refrigerator for at least 24 hours.
- Pull them out of the fridge and enjoy at room temperature.
FOR THE GANACHE:
- 2 ounces 70 percent dark chocolate, chopped
- 6 tablespoons heavy cream
- 1 tablespoon unsalted butter, cut into pieces
INSTRUCTIONS:
- Place the chopped chocolate in a heat proof bowl
- Heat the heavy cream on the stove until it just begins to simmer
- Pour the cream over the chocolate and let it sit for 2 minutes
- Whisk together the hot cream and chocolate
- Whisk in the butter until smooth
- Let the mixture cool to room temperature before piping onto the macarons (I used a piping bag fitted with an Ateco 804 tip)
Notes:
- This recipe makes about 24 shells, or 12 sandwiched macarons. This is the smallest batch I could make in my mixer, but the recipe can be easily doubled or tripled.
- For a milk chocolate ganache, you can use a 1:2.5 ratio of cream:chocolate. I used 1/4 cup of heavy cream mixed with 5 ounces of milk chocolate.
- 325 fahrenheit on the convection setting of my oven seemed to work the best for me. When I tried at 315, I got large air pockets in the top of the macarons.
- I tested these with Cacao Barry Extra Brute Dutch process and Scharffen Berger Natural Cocoa powder.
- I use these macaron silpats, which have templates built in.
- If you’re looking for some ways to use leftover egg yolks, try fresh pasta, tiramisu, and these life changing sourdough chocolate chip cookies.
Aren’t u missing the cocoa powder in the ingredients section? Why not tailor recipes to increments of 30 shells – the # if shells on a standard silpat? Thx.
Yes, thanks! I’ve updated it. 60 grams is about 2 egg whites, so that’s what I base the rest of the ingredients off of. It’s the smallest batch I can make in my mixer. My macaron silpat only holds 20. I use this one- https://amzn.to/30BCPCT
I tried to double the ganache recipe, but it turned out way too runny. I was using 60% chocolate…would thay make a difference?
Can you easily double this recipe? I’m wondering if making larger quantities makes the process easier.
Thank you for the wonderful recipes!
Has anybody ever shopped at Volcano eCigs Vape Store located in 17022 SE McLoughlin Blvd?