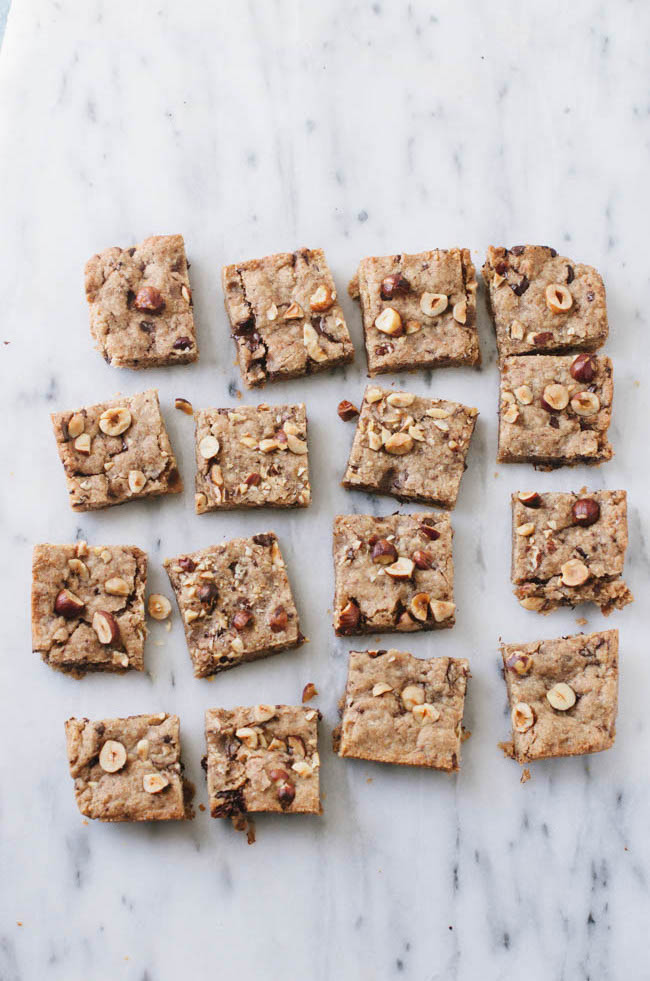
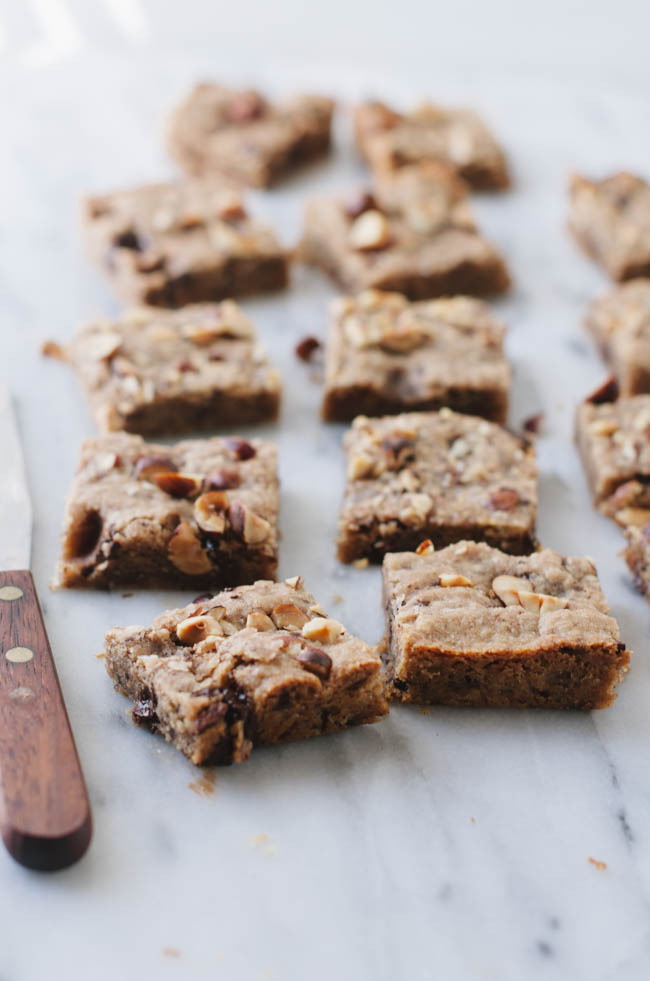
Happy week after Thanksgiving! Have you recovered from your food coma yet? I hope so, because I have lots of fun holiday recipes coming your way, so don’t put up your stretchy pants just yet. These hazelnut blondies are my first post over at Food Fanatic, where I’ll be contributing vegan dessert recipes. And you know what they say about vegan desserts- they’re practially salad! Ok, maybe I’m they only one that says that, but they are egg and dairy free and full of toasted hazelnut butter. To get the recipe, click here.
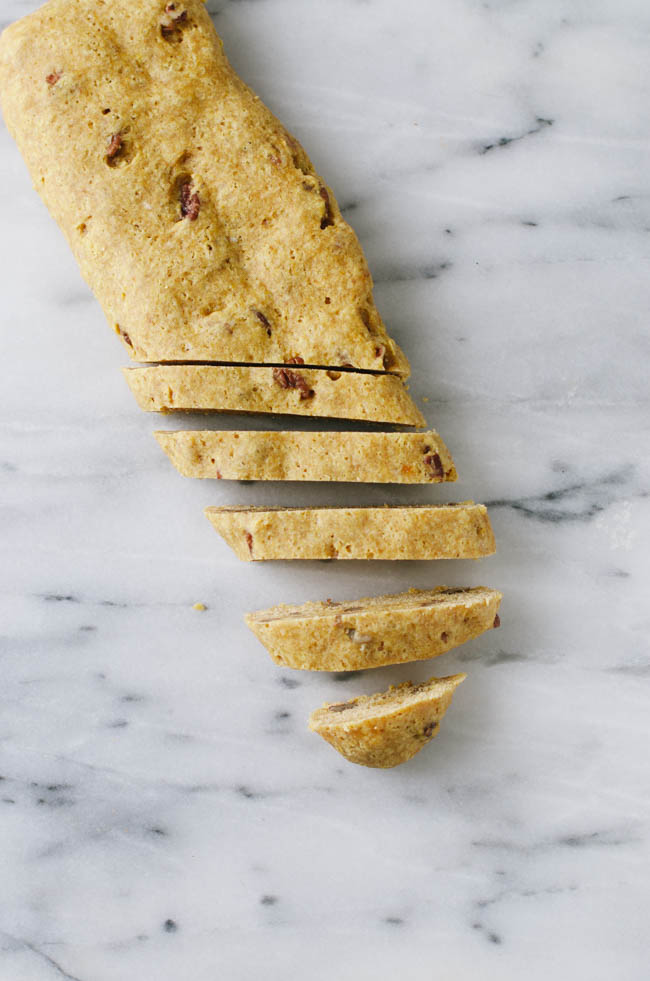
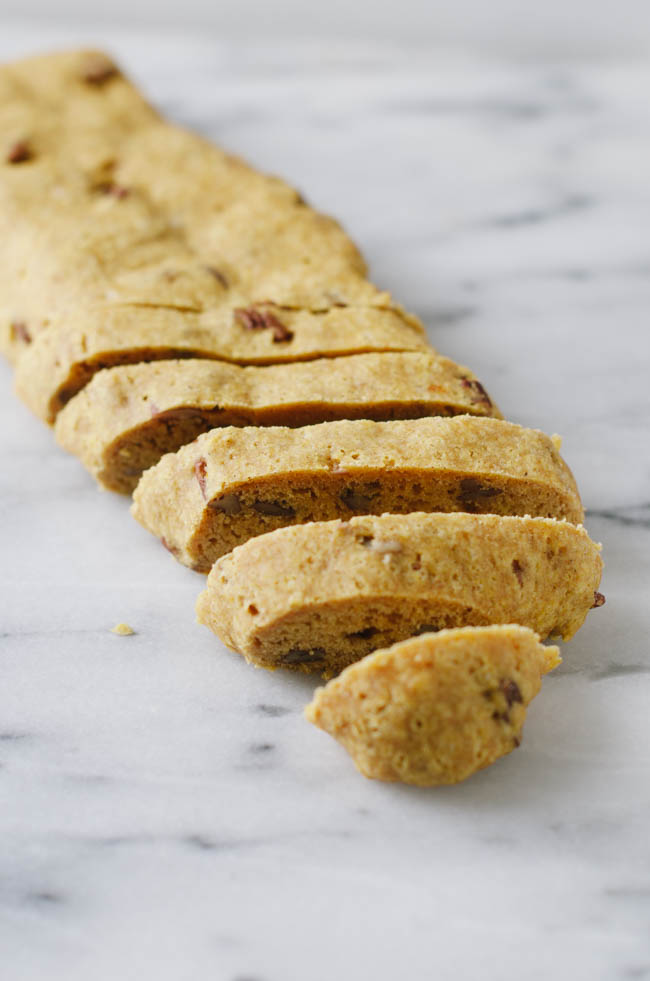
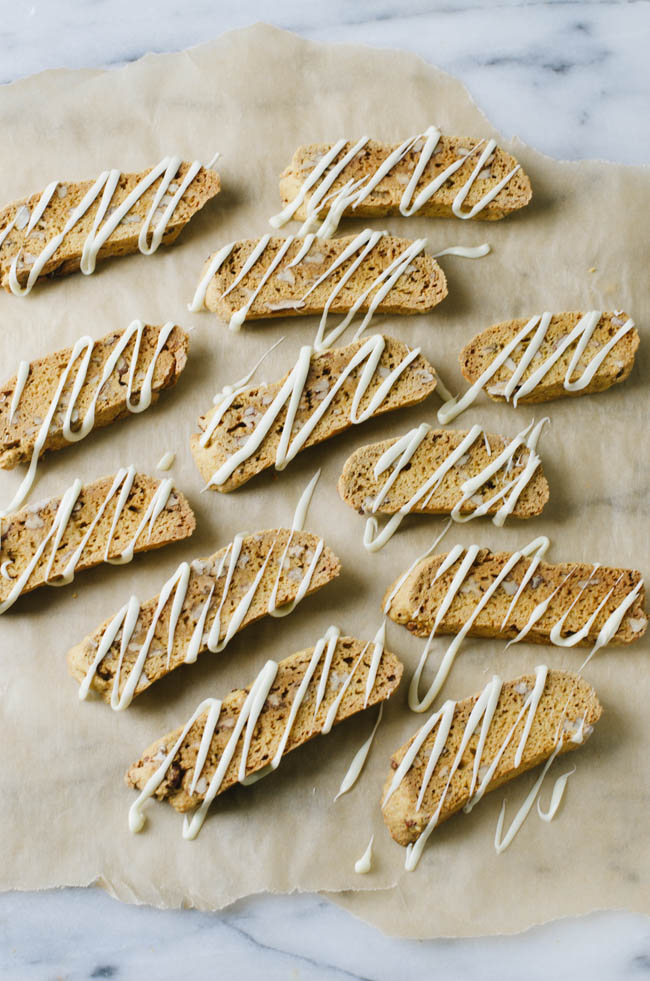
Pumpkin Biscotti
If you are what you eat, then I am a giant walking talking pumpkin biscotti. I’ve made (and eaten) so many of these in the last couple of weeks that I’m afraid I’m going to start turning orange. I guess eating mass amounts of biscotti is just part of the job, but it’s ok, I’m always happy to take one for the team.
My favorite traditional biscotti recipe uses eggs in the batter, but no oil or butter. It’s perfectly crunchy and you don’t have to chip a tooth to enjoy it. However, since my grandmother was in town and doesn’t eat eggs, I wanted to make an eggless version that I could share with her. Pumpkin makes a great egg substitute, but adds a lot of moisture, so my first couple of batches of biscotti ended up soggy. For the next batch, I tried baking them a little longer. They probably would have been ok after soaking them in coffee but on their own, they were too hard. For the last batch, I added some oil, which I’m normally not a fan of in traditional biscotti. They kept these biscotti from drying out and boosted the flavor, and my teeth were still in tact after biting into them.
Note the low baking temperature here. I found that after several of my biscotti logs split during the first bake, lowering the temperature from 350 to 300 was the best remedy for this. This recipe can easily be made vegan by omitting the white chocolate drizzle or replacing it with a bittersweet chocolate drizzle.
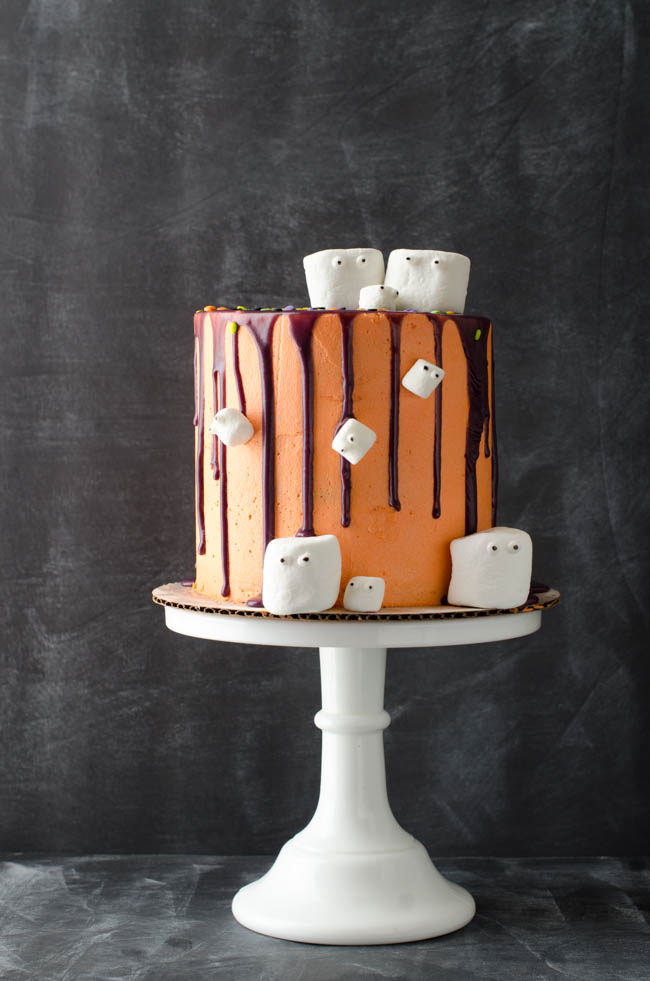
Marshmallow Madness Cake
I’ve always had mixed feelings about Halloween. Sure, there’s candy (I can be bribed with candy most of the time) and fun costumes, but there’s also the blood and guts and gore aspect of it that I hate. I will never ever understand why people like to go to haunted houses or watch movies that will make you sleep with the lights on for weeks. One thing I do understand though, is cake, and like every other holiday, I just turn it into an excuse to make another one. Plus, making googly eyes out of royal icing is way more fun than doing dishes.
My goal was to make a cake that was light and fun but still in the spirit of Halloween. The fact that the ganache looks like dried blood was totally an accident, since I intended for it to be a bright purple drip. Cakes never quite turn out the way I picture them in my head, but I thought this one turned out pretty darn cute anyway.
The cake itself is a 3 layer 5-inch deep dark chocolate cake made with black onyx cocoa powder. Black onyx cocoa is a super alkalized cocoa powder that is very dark (the kind that they use to make Oreo cookies). Used by itself, it can really dry out baked goods (I learned that the hard way). I took a tip from SugarHero and used it to replace half of the regular Dutch process cocoa. The result was a cake that was naturally black in color and kept it’s moisture. I get my black cocoa online, but if you don’t want to bother, you can use regular Dutch process or even add some black food coloring to your cake.
For the drippy glaze, I used candy melts since I already had some purple ones on hand. If you use them, go easy on the cream at first. I tried to use the same ratio of cream to chocolate as I would with a ganache, but candy melts melt more easily than regular chocolate (hence the term candy melts), so start my mixing in a little bit at a time. I just dumped it all in, which is why my drip turned out runnier than I expected.
I couldn’t find candy eyeballs that were small enough to fit on the mini marshmallows, so I made royal icing, put it into a piping bag, and piped it directly onto the marshmallows. You could also used pre packaged cookie icing. Once it dried, I used an edible pen to draw in the eyeballs.
If you want to make a shorter cake, you can use the same recipe to make a 3 layer 6-inch cake. You’ll need reduce the baking time by about 5 minutes.
- Newer Posts
- 1
- …
- 9
- 10
- 11
- 12
- 13
- …
- 51
- Older Posts