The Cake Merchant

  • Home
  • About
  • recipes
  • Contact

Macaron Basics: French vs. Italian Method

09.21.17

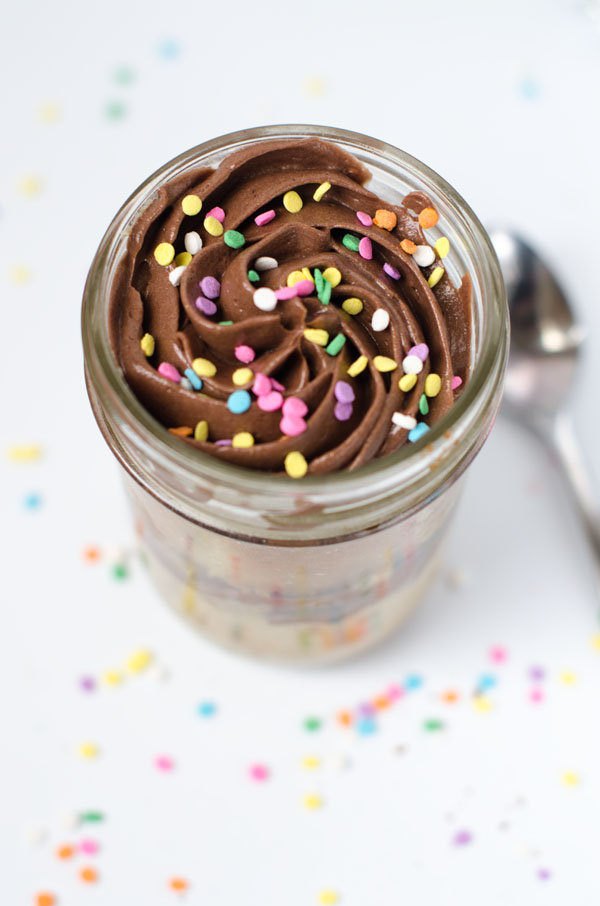
Above: Italian method macarons made at the bakery

Like most trends in life, I’m late to the game when it comes to macarons. Part of the reason is because I used to HATE them. There aren’t a lot of sugary treats I won’t eat but macarons used to be one of them, mostly because I thought they just tasted like dry crumbly sugar. That changed during the summer of 2015 when Aaron and I stayed at the Venetian in Las Vegas. They happened to have a Bouchon Bakery inside the hotel (danger!) and Aaron convinced me to get a salted caramel macaron. I won’t tell you how many of them we ate in the 3 days that we were there, but let’s just say a 2 year obsession began with baking (and eating) macarons.

I spent years making batches of macarons using both the French and Italian methods, getting cracked tops, lopsided feet, and lumpy shells, and pretty much every other kind of issue you can imagine. Fast forward to the summer of 2017 when I worked in a bakery. From pretty much the first week I was there, I was responsible for making large batches of macarons, and failure was not an option. I’ve learned a lot in the past 2 years, and hopefully these posts will help you enough so that you don’t have to waste as much almond flour as I did.

There are essentially 2 methods to making macarons.

The French method starts out with a French meringue (sometimes called common meringue), where egg whites that are whipped with sugar until they reach stiff peaks. The dry ingredients (almond flour and powdered sugar) are then folded into the meringue to form a batter. When learning to make macarons, most people start with this method. It doesn’t require any special equipment, and there’s no chance of burning yourself with boiling sugar syrup. However, the mixing/macaronage process can be tricky since the meringue is delicate and not very stable.

The Italian method uses an Italian meringue, where boiling sugar syrup is poured slowly into the egg whites, cooking them as they whip. This results in a more stable meringue, and many bakeries use this method for its consistent results. Although this process does require extra steps, the stable meringue makes the macaronage process less treacherous. I find that I get less air bubbles with this method as well.

Read The Post

36 Comments · Macarons

Raw Pumpkin Cheesecake

11.10.14

Raw Pumpkin Cheesecake

One of the best things about being married and having family close by is hosting Thanksgiving, because even though I don’t eat turkey, I’ve always really loved the holiday. Aaron makes the turkey and I make everything else and get to indulge in foods that my mom always deemed to bland for consumption when I was a kid. When your in-laws aren’t Indian, they don’t feel the need to douse the mashed potatoes in Tobasco and add chili paste to the green beans.

After hosting our first Thanksgiving last year, it was clear that oven space is prime, so not only is a raw pie healthier, it’s more practical. Plus, it is so so easy, and this is the one time of year when easier always wins for me. God knows I cannot be trusted to roll out a pie crust under pressure. I swear pie crust can smell fear, and after the pumpkin pie disaster of 2011, give me a press in pie crust recipe any day.

Raw Pumpkin CheesecakeRaw Pumpkin Cheesecake

This recipe has been a long time coming, mostly because the first time I made this cheesecake and removed it from the pan, the filling completely oozed out the sides and onto the floor. I’ve often said that I have no shame when it comes to desserts, but even I won’t lick cheesecake remains off the ground.

Gloopy cheesecake didn’t keep me down for long, though. I’ve tweaked this recipe a couple of times since then, so not only will it hold it’s shape now, but it will taste so good that even your pumpkin hating hubby will eat it and enjoy it! Ok, I can’t guarantee that, but mine certainly did. If you’re not concerned about the pie being raw, you can roast the pumpkin and use the puree instead of the raw shredded pumpkin. I plan to try it that way for my own Thanksgiving table.

As for the soy lecithin being raw, I’ve done some research and I’m still not 100 percent sure. Apparently sunflower lecithin is raw and a good alternative for those with soy allergies. I’ve never tried it, but I would love to hear your results if you do.

Raw Pumpkin Cheesecake

Read The Post

31 Comments · Cake, Holiday, Pie, Vegan

Birthday Cakes in a Jar

02.16.14

Birthday Cakes in a Jar

Now that Valentine’s Day is over, let’s get on to more important things. Like my birthday. Technically it’s not until Wednesday, but I like to make my birthday week filled with as many obnoxiously sprinkly posts as possible. Unfortunately, I’m going out of town tomorrow for work for my entire birthday week, so I went with a sprinkly portable cake that I plan to take with me on my trip. Don’t worry, though, my real birthday cakes (I always make two) will be coming, but just a little later than usual.

I totally meant to post these little jar cakes for Small Batch Saturday, but Saturday turned into Sunday, so Small Batch Sunday it is. I’m trying my best to stick with the schedule, but this every other week thing is way too complicated for me. Anyway, this recipe makes 2 little cakes which can be baked directly in mason jars.

I chose yellow cake with mocha frosting because when I was a kid, I only liked 2 kinds of cake- yellow cake with chocolate frosting, or mocha cake with mocha frosting. Both were from a cake mix, and I’m embarrassed to say that the frosting was usually from a can. By the way, whatever happened to mocha flavored cake mix? Does anyone else remember that? These little cakes are combination of my two favorite childhood flavors.

Birthday Cakes in a JarSprinklesBirthday Cakes in a JarBirthday Cakes in a Jar

Not pictured: Aaron trying to steal a jar of cake and me running after him with a squirt bottle screaming, “Drop the cake!” We are so mature.

Print
Birthday Cakes in a Jar

Yield: makes 2 half pint sized mason jar cakes

Ingredients

    For the Cake:
  • 3 tablespoons buttermilk
  • 1/8 teaspoon baking soda
  • Yolk of 1 large egg
  • 1/2 teaspoon pure vanilla extract
  • 3 tablespoons unsalted butter, melted and cooled
  • 1/2 cup all-purpose flour, sifted
  • 1/3 cup sugar
  • 1/4 teaspoon salt
  • For the frosting
  • 6 tablespoons unsalted butter, at room temperature
  • 1/2 cup powdered sugar
  • 1 tablespoon good quality cocoa powder (I used Valrhona)
  • 1/2 teaspoon coffee extract
  • 1 teaspoon milk
  • sprinkles for topping

Instructions

    For the Cake:
  1. Preheat the oven to 350 degrees fahrenheit.
  2. Grease and flour 2 half pint sized mason jars (or use a baking spray such as Baker’s Joy or Cake Release).
  3. In a small bowl, whisk together the buttermilk and baking soda until the baking soda is dissolved.
  4. Add the egg yolk, vanilla, and melted butter. Whisk to combine.
  5. In a medium bowl, whisk together the flour, sugar, and salt.
  6. Add the buttermilk mixture to the flour mixture and whisk until thoroughly combined.
  7. Divide the batter equally between the prepared jars. Place the jars on a cookie sheet and bake for 25 minutes, or until a toothpick inserted into the center comes out clean.
  8. Cool for 10 minutes. Run a knife around the sides of the cakes, and turn them out onto a cooling rack. Cool completely before frosting.
  9. For the frosting:
  10. With an electric mixer, beat the butter on medium speed for about 2 minutes, until it has become light and creamy.
  11. Add the powdered sugar and cocoa powder and beat on low to combine.
  12. Turn the mixer up to medium and beat for an additional minute.
  13. Add the coffee extract and milk and beat to combine.
  14. Assembly:
  15. Place the frosting in a 12-inch piping bag fitted with a star tip
  16. If your cake has domed up on the top, slice it off to make the cake flat (the dome is perfect for taste testing).
  17. Slice the cake horizontally into 2 even layers.
  18. Place one layer of the cake in the bottom of the jar.
  19. Pipe a layer of frosting over the cake.
  20. Add an additional layer of cake and pipe an additional layer of frosting.
  21. Top with sprinkles.
3.1
https://cakemerchant.com/2014/02/16/birthday-cakes-jar/

Cake recipe adapted from Small-Batch Baking

48 Comments · Cake, Holiday, Mini Desserts

  • 1
  • 2
  • 3
  • 4
  • Older Posts

About Me

Welcome to the Cake Merchant! I’m Natasha, the cake maker behind this blog. Here, I share my favorite cakes, baking tips, dessert experiments, and the occasional picture of my dog... READ MORE

Keep In Touch

  • Email
  • Instagram
  • Pinterest
  • RSS

Subscribe

Small Batch Favorites

  • Vegan Blueberry Almond Crumb Muffins for Two
    Vegan Blueberry Almond Crumb Muffins for Two
  • Teeny Tiny Chocolate Cake for One
  • Double Chocolate Chip Skillet Cookie for Two
  • Mini One Bowl Yellow Cake with Malted Chocolate Frosting
  • Birthday Cakes in a Jar
  • Small Batch Chocolate Chip Cookies

© Copyright 2026. The Cake Merchant. All Rights Reserved. Design by Oh Wild.

Cleantalk Pixel